

Let’s be honest—RV toilets and dump stations are one of the most intimidating parts of RVing for beginners. Almost every RVer remembers their first time pulling into a dump station and thinking, “Am I doing this right?”
The good news? RV waste systems are far less complicated than they seem. With a basic understanding of how RV toilets work and a few best practices at the dump station, this part of RV life quickly becomes routine.
At Poulsbo RV, we help new RVers learn these systems every day. This guide will walk you through the different types of RV toilets and give you clear, confidence-building tips for a clean, stress-free dump station experience.
Understanding RV Toilet Types
Not all RV toilets work the same way. Knowing which system your RV uses makes everything easier.
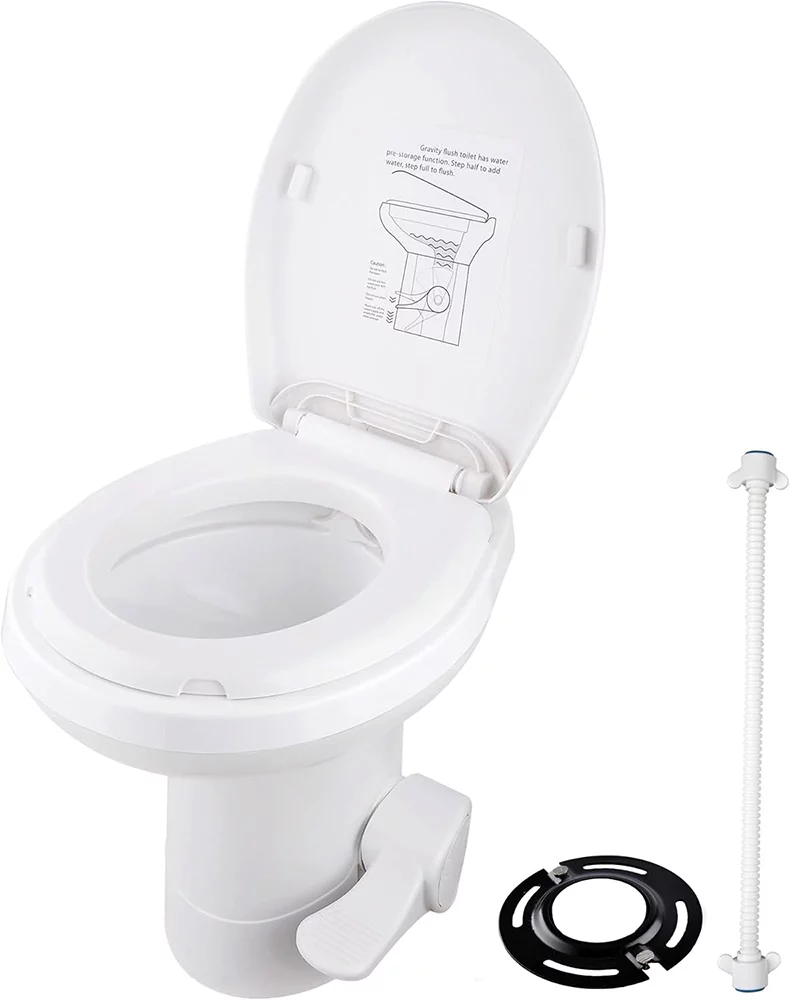
Gravity Flush RV Toilets
This is the most common RV toilet system, especially in travel trailers, fifth wheels, and motorhomes.
A gravity flush toilet looks similar to a residential toilet but uses much less water. When you flush, waste drops directly into the black tank located below the toilet.
What’s different from home toilets is that you’re responsible for monitoring tank levels and emptying them regularly. Most RVs display black tank levels on a control panel, making it easy to know when it’s time to dump.
With proper tank care, good dumping habits, and the right supplies, gravity flush toilets are reliable and easy to manage.
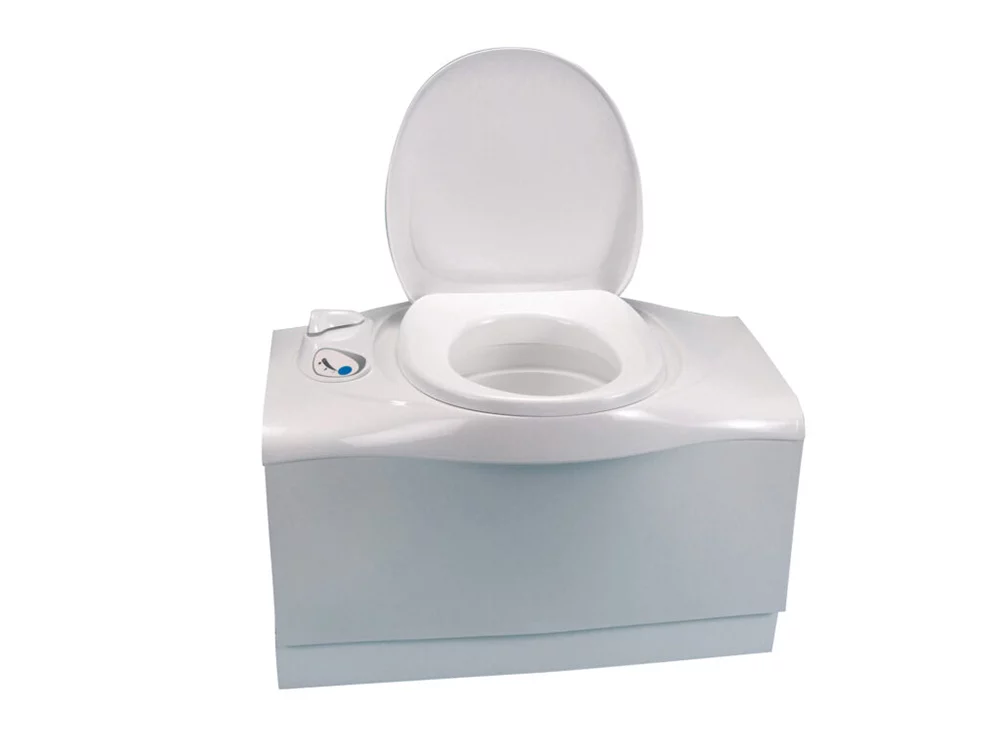
Cassette Toilets
Cassette toilets are common in smaller RVs and camper vans. Instead of a large black tank, they use a removable waste cassette that slides out from an exterior access door.
The cassette is carried to a dump station or standard toilet and emptied directly. Many RVers like cassette toilets because they offer flexibility and eliminate the need for sewer hoses.
Because the tank is smaller, it needs to be emptied more frequently—but the process itself is simple and controlled..
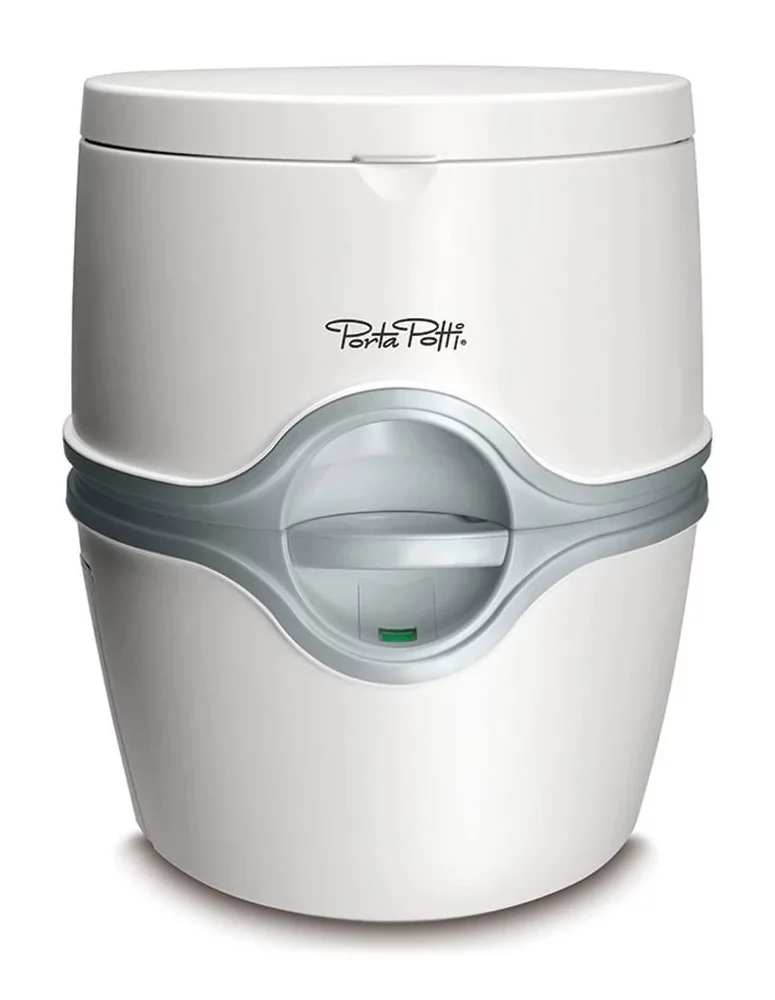
Porta Potti Toilets
A Porta Potti is a self-contained toilet with no fixed plumbing. It consists of an upper freshwater tank and a lower waste tank.
These are often used in compact RVs, overland rigs, or situations where flexibility is a priority. Like cassette toilets, Porta Pottis are emptied manually and have a smaller capacity.
They’re easy to use, easy to store, and straightforward to dump — just more frequent.
Dump Station Basics: What to Expect
Dump stations are found at campgrounds, RV parks, rest areas, and some fuel stations. They provide:
• A sewer inlet for dumping tanks
• A non-potable water hose for rinsing sewer hoses
• Space to park and access your tank valves
The key to a good dump station experience is preparation and a calm, step-by-step approach.
Tips for a Clean, Hassle-Free Dump Station Experience
Align Your RV Properly
Position your RV so your sewer outlet comfortably reaches the dump inlet. Avoid stretching hoses to their limit—this makes secure connections harder and increases the risk of messes.
Wear Gloves and Sanitize
Disposable gloves make the process cleaner and more comfortable. After dumping, wash your hands thoroughly and sanitize any handles or surfaces you touched.
Have the Right Sewer Hose and Fittings
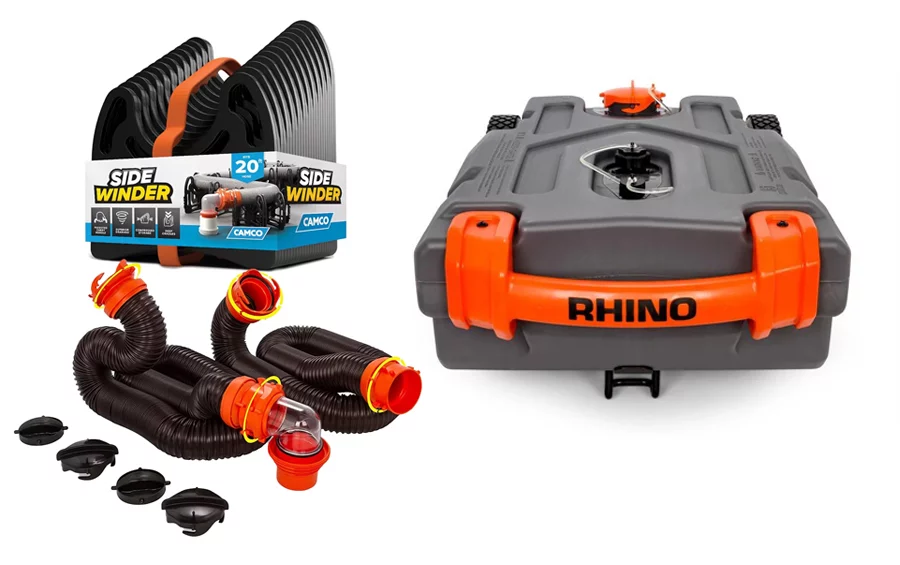
A quality sewer hose with secure fittings is essential. Clear elbow attachments are especially helpful, as they let you see when tanks are fully emptied and rinsed clean.
Make Sure the Sewer Hose Is Secure
Before opening any valves, confirm that the hose is firmly connected to your RV and seated securely in the dump inlet. Some dump stations allow you to lock the hose in place; others may require placing weight over the hose to keep it steady.
Dump the Black Tank First
Always dump the black tank first. This allows the gray tank water to rinse residue from the hose afterward.
Once the black tank is empty, close the valve before moving on.
Dump the Gray Tank Second
Gray water helps flush soap residue and remaining waste from the sewer hose, leaving it cleaner for storage.
Close All Valves When Finished
Before disconnecting anything, double-check that all tank valves are fully closed. Leaving a valve open can cause leaks, odors, and unwanted pests.
Rinse and Store Properly
Use only a designated non-potable hose to rinse your sewer hose. Never use your freshwater hose for this purpose.
Store sewer hoses separately from freshwater hoses to avoid cross-contamination.
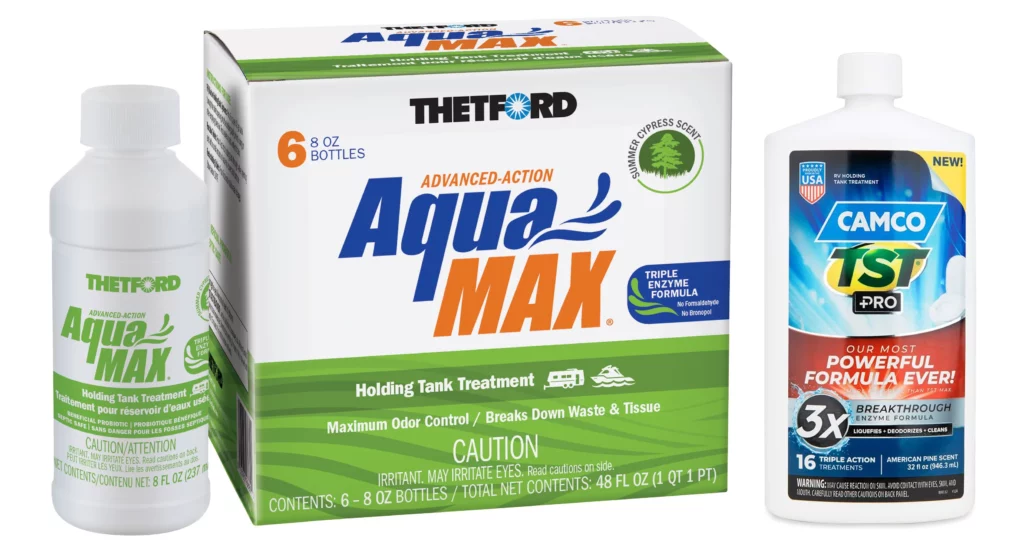
Use Waste Tank Treatments
Adding RV-specific wastewater treatment after dumping helps control odors, break down waste, and prevent clogs. This is a simple step that makes a big difference over time.
Practice Good Dump Station Etiquette
Be efficient, clean up after yourself, and avoid extended tank flushing if others are waiting. Leaving the station cleaner than you found it is always appreciated.
Building Confidence Over Time
Like anything new, RV toilets and dump stations feel intimidating at first—but they quickly become routine. Most mistakes happen when people rush or skip steps, not because the process is difficult.
If you’re unsure, ask a fellow RVer, watch a demonstration, or stop by Poulsbo RV for guidance. We’re always happy to help walk you through the process or recommend the right hoses, treatments, and accessories from our Parts Departments.
Final Thoughts
RV toilets don’t have to be stressful. With a little knowledge, the right equipment, and good habits, managing your RV’s waste system becomes just another simple part of life on the road.
Have questions about your RV toilet, tanks, or dump station supplies? Visit any Poulsbo RV location for expert advice, quality parts, and friendly support to help you travel with confidence.


