
A smooth, level RV setup is the foundation for a comfortable, safe camping experience. Whether you’re parking for the weekend or setting up for the season, taking the time to properly level your RV will make everything work better—from your refrigerator to your sleep quality.
At Poulsbo RV, we’ve helped thousands of RVers get set up the right way. Here’s what you need to know about the how and why of leveling your RV.
Why Leveling Your RV Matters
Leveling isn’t just about comfort—it’s essential for your RV’s performance and longevity.
Comfort & Safety: Sleeping on a slope and walking on a tilt can make life inside your RV uncomfortable—and sometimes even dangerous.
Appliance Function: Many RV refrigerators rely on absorption systems that need to be level to function safely. If your RV tilts, it can cause cooling issues or even long-term damage.
Plumbing and Tanks: A level RV helps your sinks, showers, and tanks drain properly and prevents false tank readings.
Slide-Out Operation: Uneven ground can strain slide mechanisms or create alignment issues.
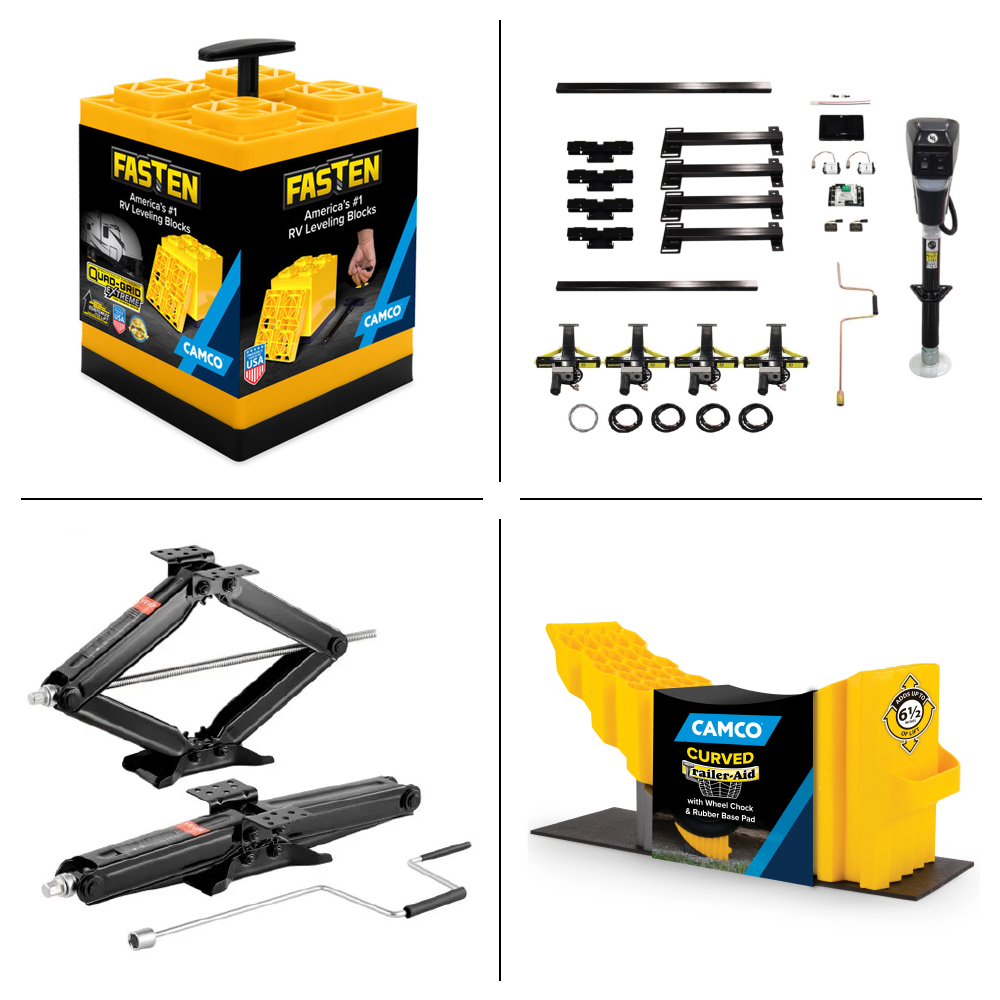
Tools You’ll Need
Before you start, make sure you have the right equipment for your RV type:
- Bubble or Digital Level – Place it on the floor or a countertop to gauge your balance.
- Leveling Blocks or Ramps – To raise the low side of your RV.
- Wheel Chocks – To secure your tires once they are level.
- Tongue Jack or Stabilizer Jacks – For fine-tuning and stability (not leveling for motorhomes).
- Automatic Leveling System – If equipped, this system handles most of the work for you.
You can find most of these products at your Poulsbo RV Parts Department
How to Level a Travel Trailer or Fifth Wheel
- Pick the Flattest Spot Possible
Look for level ground to minimize the amount of adjustment you’ll need. - Level Side to Side First
Place leveling blocks under the tires on the low side.
Pull forward or back until the RV is level side-to-side. - Chock the Wheels
Once level, secure both sides of your RV with wheel chocks to prevent movement. - Level Front to Back
Use your tongue jack (for travel trailers) or landing gear (for fifth wheels) to raise or lower the front. - Check the level again and adjust until even.
- Lower the Stabilizer Jacks
These reduce rocking or shifting, but shouldn’t be used to raise the RV.
How to Level a Motorhome
- Park and Engage the Parking Brake
Make sure your motorhome is in a secure spot. - Use Built-In Leveling System
Many motorhomes come with automatic or hydraulic leveling systems—simply follow the manufacturer’s instructions. - Manual Leveling (if needed)
Place leveling blocks under the low tires.
Adjust until level from both side to side and front to back.
Pro Tips from Poulsbo RV
• Use a small level in your fridge – A quick check ensures your food stays safe and your fridge performs at its best.
• Avoid leveling on soft ground – Use wood or plastic pads under jacks and blocks to prevent sinking.
• Recheck after slide-outs are deployed – Weight distribution can change slightly once slides are extended.
• Inspect your jacks and leveling system annually – Our Poulsbo RV service team can perform inspections, lubrication, or adjustments to keep everything working smoothly.
Final Thoughts
Proper leveling is one of the simplest ways to protect your RV and enhance your camping comfort. Whether you use blocks, jacks, or a fully automatic system, taking a few minutes to get level pays off every time you hit the road.
Need help or parts for your leveling system? Stop by any Poulsbo RV location for expert advice, quality gear, and friendly service to keep your RV steady all season long.
